Upon completing the Initial Rack Setup steps, the control plane services, including the web console, should all be up and running.
In this final part of the rack setup process, you will configure the external IP addresses to be used by instances, create a new silo, and set up someone as the silo administrator with or without an identity provider (IdP).
Prerequisites
Before beginning rack configuration, confirm that the following are ready:
| Item | Status |
|---|---|
Initial Rack Setup completed — rack status shows "Initialized" | ☐ |
Recovery silo DNS resolves ( | ☐ |
External IP address range(s) allocated for VM instances | ☐ |
Silo name chosen (lowercase letters, numbers, dashes only) | ☐ |
TLS certificate ready for new silo (or wildcard cert covering | ☐ |
Identity provider configured (if using SAML SSO) — see Identity Providers guide | ☐ |
IdP admin group identified and your user account added to that group | ☐ |
Test VM image ready for acceptance testing (RAW or ISO format) | ☐ |
SSH key pair ready for VM access | ☐ |
Network team available if connectivity issues arise | ☐ |
If any of these items are not ready, complete the preparation before proceeding.
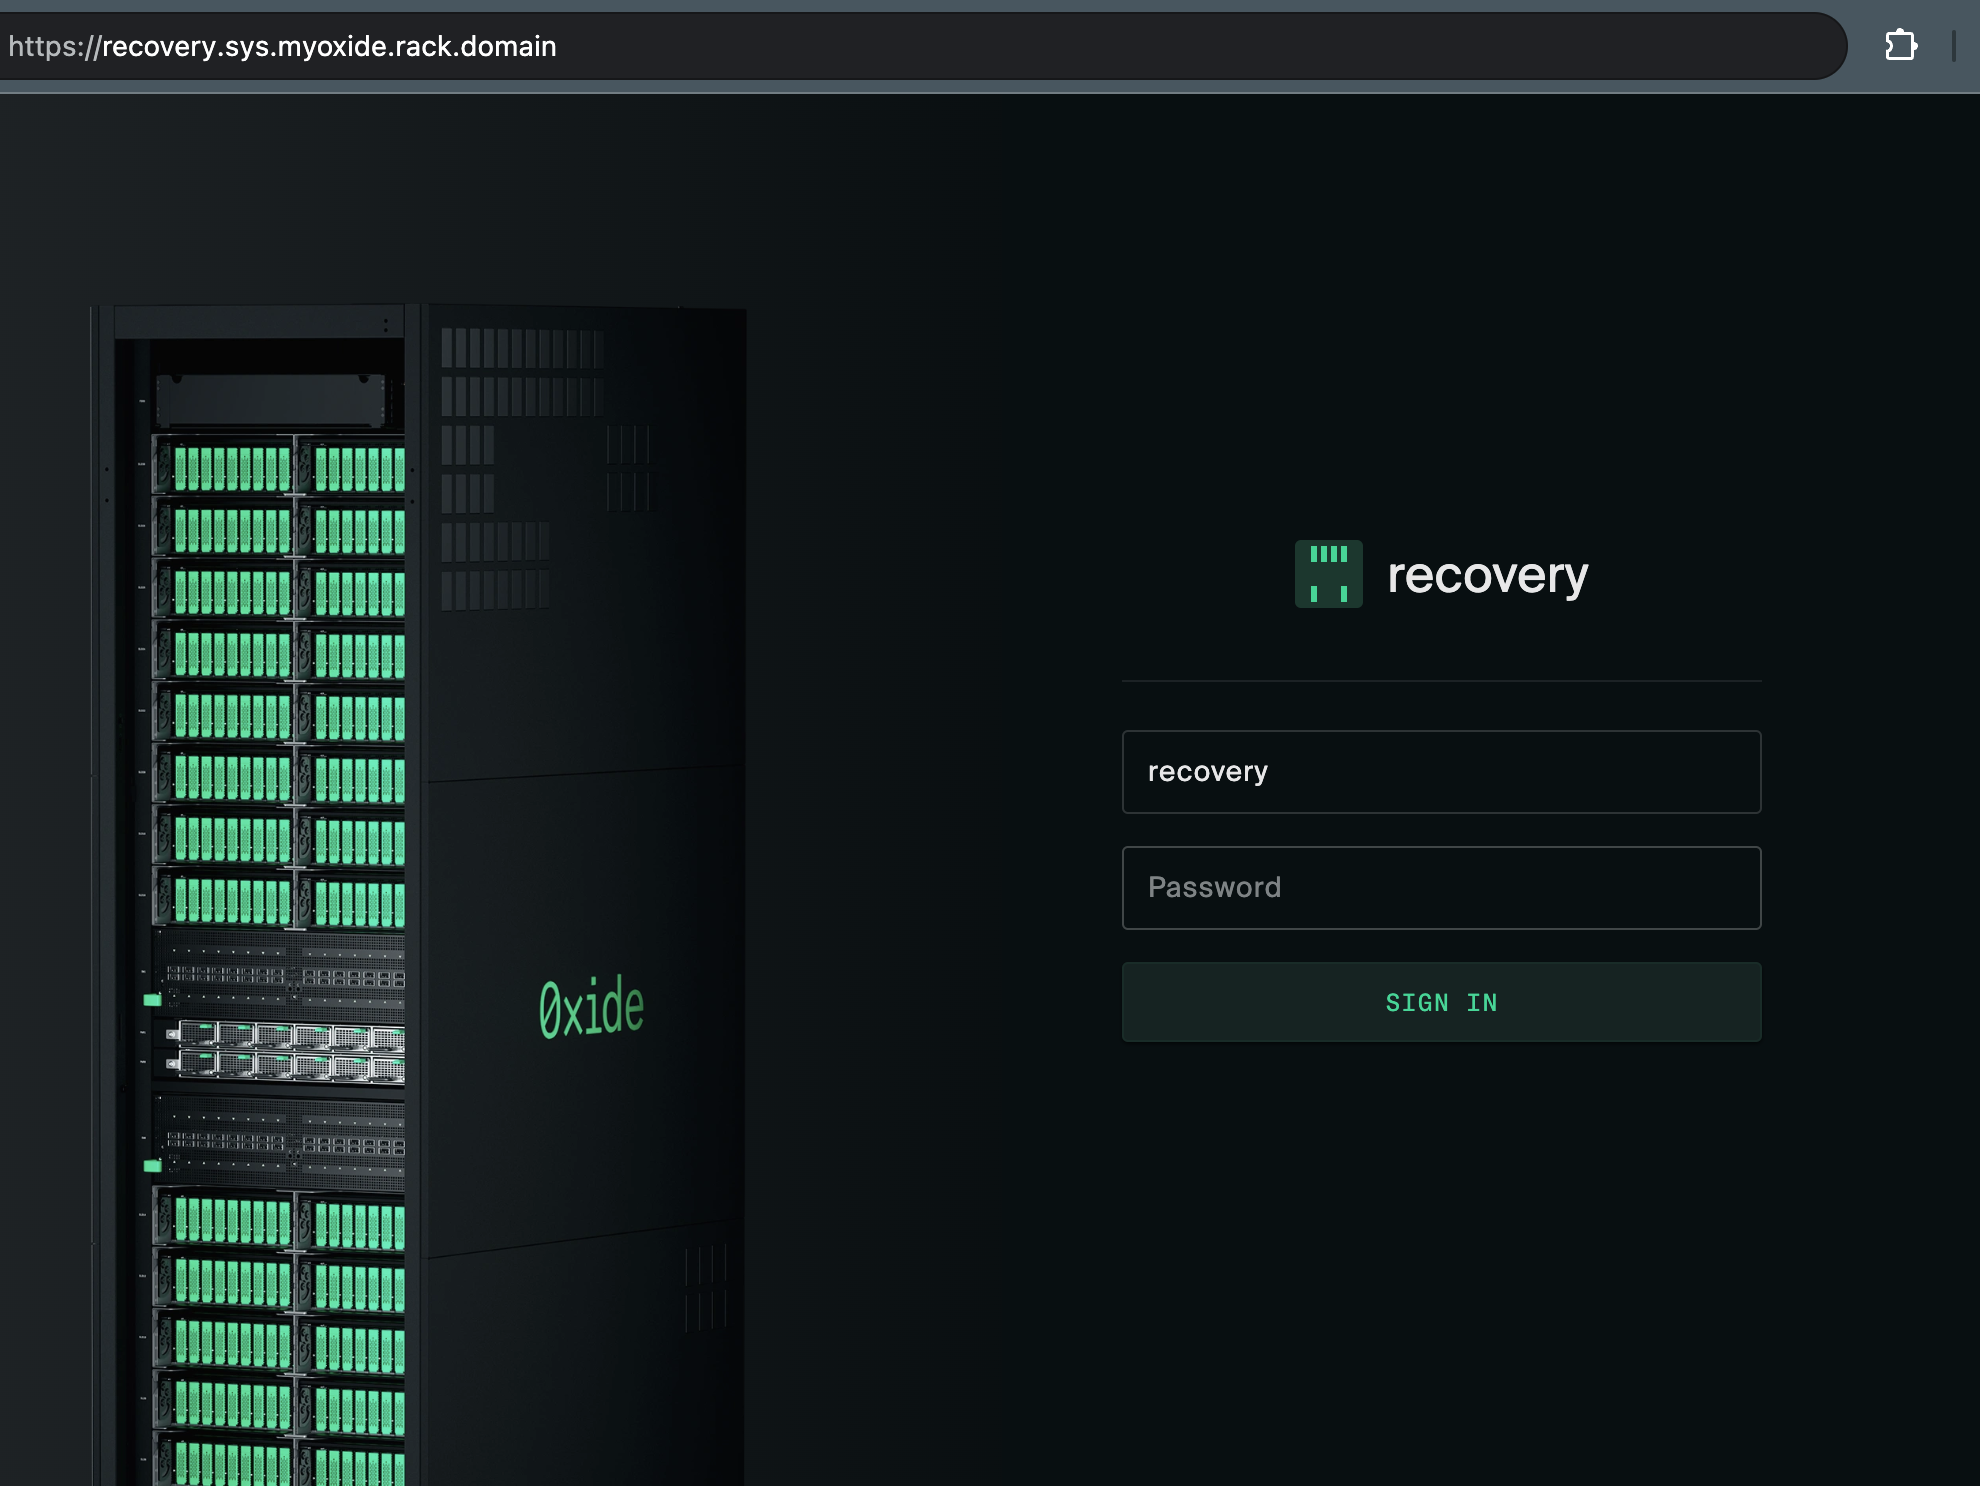
Log into web console
In your web browser, log into the Oxide Console with the username recovery at https:/ and the password specified during the initial rack setup process.
The silo in use here is meant for first-time setup and recovery purposes. In the steps below, we’ll create another silo and grant its administrators fleet access so that these users can manage system-level configurations without logging in as the recovery user again.
Create device token (required for CLI only)
Follow the instructions in the CLI guide to create a device token. This token is linked to the recovery user and should only be used for managing rack setup.
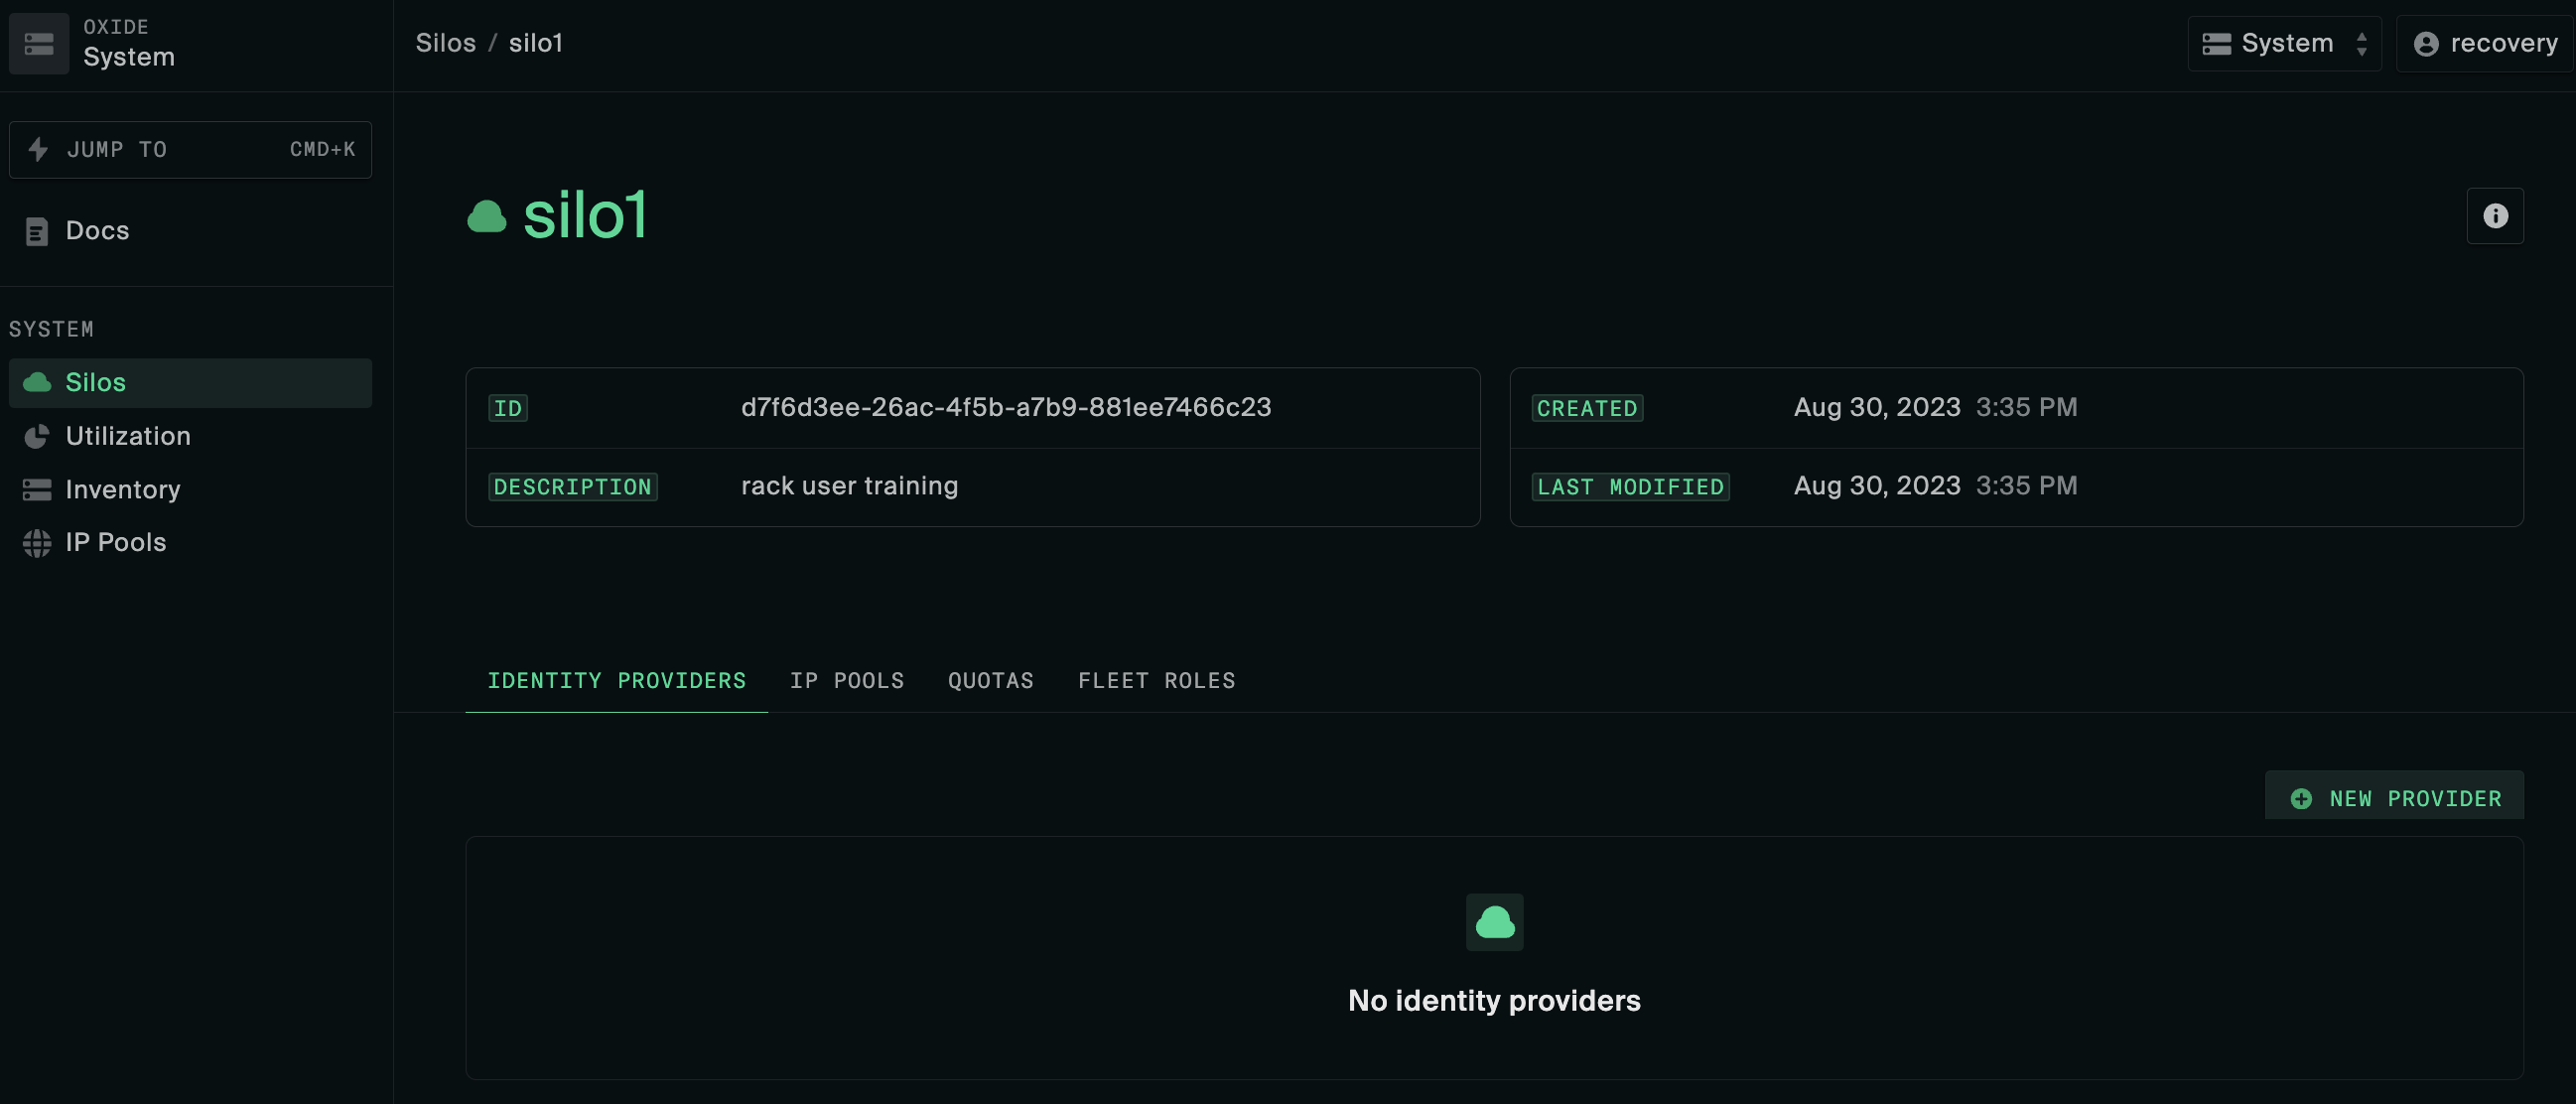
Create a silo
The following information is required when creating a silo:
| attribute | value | ||||||||
|---|---|---|---|---|---|---|---|---|---|
name | Must start with a letter and contain only lower-case letters, numbers, and dashes. | ||||||||
description | A brief description of the silo. | ||||||||
discoverable | Whether the silo should be included in silo listing queries (non-discoverable silos are accessible only by direct name or id reference). | ||||||||
identity_mode | There are two options:
| ||||||||
admin_group_name | Required if using | ||||||||
mapped_fleet_roles | Optional map of which fleet-level roles are conferred by each silo role. The keys are silo roles and the values are the fleet roles conferred by that silo role (for example, | ||||||||
quotas | Compute and storage resource limits.
| ||||||||
tls_certificates | Initial TLS certificates to be used for the new Silo’s console and API endpoints; should be valid for the Silo’s DNS name which follows the convention
|
Create a silo using the Oxide console
First, navigate to the System menu using the dropdown at the top right-hand corner of the web console (next to user name). On the Silos menu, click New Silo.

Follow the create silo instructions in one of the integration examples in the Identity Providers guide that matches more closely with the SAML provider you have.
Create a silo using the CLI
oxide silo create --json-body silo.json
Here are some examples of the silo.json request payload based on its identity_mode:
saml_jit
# identity_mode = saml_jit
# the mapped_fleet_roles enables silo admin group members to act as fleet admin
{
    "name": "$siloName",
    "description": "$siloDescription",
    "discoverable": true,
    "identity_mode": "saml_jit",
    "admin_group_name": "$idpAdminGroup",
    "mapped_fleet_roles": {
      "admin": [
        "admin"
      ]
    },
    "quotas": {
        "cpus": 18,
        "memory": 8589934592,
        "storage": 107374182400
    },
    "tls_certificates": [{
        "name": "initial-install-cert",
        "description": "Wildcard certificate",
        "service": "external_api",
        "cert": "$fullCertChainPemBlob",
        "key": "$privateKeyPemBlob"
    }]
}
local_only
# identity_mode = local_only
{
    "name": "$siloName",
    "description": "$siloDescription",
    "discoverable": true,
    "identity_mode": "local_only",
    "quotas": {
        "cpus": 18,
        "memory": 8589934592,
        "storage": 107374182400
    },
    "tls_certificates": [{
        "name": "initial-install-cert",
        "description": "Wildcard certificate",
        "service": "external_api",
        "cert": "$fullCertChainPemBlob",
        "key": "$privateKeyPemBlob"
    }]
}
Identity provider preparation
Before configuring the identity provider in the Oxide Console, ensure you have gathered the following from your IdP (Okta, Google Workspace, Keycloak, Azure AD, etc.).
| What to Gather | Where to Find It | Oxide Field |
|---|---|---|
Application/client ID | IdP application settings |
|
SAML metadata XML or URL | IdP SAML configuration or metadata endpoint |
|
Entity ID / Issuer URL | IdP application settings |
|
Group attribute name | IdP SAML attribute mapping |
|
Admin group name | IdP group/role configuration |
|
Configure in your IdP before proceeding:
Create an application/service provider entry for Oxide
Set the ACS (Assertion Consumer Service) URL to:
https:// $SILO_NAME.sys.$OXIDE_DOMAIN_NAME/ login/ $SILO_NAME/ saml/ $IDP_NAME Configure the SAML response to include a group attribute listing the user’s groups
Ensure your admin user account is a member of the admin group
If providing metadata via URL, confirm the endpoint is accessible from the rack’s service network (not blocked by firewall)
Configure silo identity provider
Perform this step if your silo uses SAML for authentication.
The following attributes are required when configuring an identity provider:
| attribute | value | ||||||
|---|---|---|---|---|---|---|---|
name | A short name of the silo’s IdP SAML configuration (the name will be used in the login URL path, see the example under ACS URL). For ease of tracking, this can be set to the same value as the application or service provider identifier in the IdP, but it is not required. | ||||||
description | A brief description of the SAML configuration in the identity provider. | ||||||
idp_metadata_source | Base64 encoded XML of identity provider SAML descriptor; the source can be specified as XML data or a URL for retrieving the metadata. If the URL is used, the rack service must have anonymous access to the endpoint.
| ||||||
idp_entity_id | IdP SAML issuer ID or client root URL. | ||||||
sp_client_id | The IdP ID that uniquely identifies the Oxide client; it may be labeled as service provider, application, audience, and so on. | ||||||
acs_url | The Oxide Console login endpoint registered with the identity provider for responses and assertions. It should take the form: | ||||||
slo_url | Single logout endpoint, may be set to the same value as ACS URL (i.e., taking users back to the Oxide Console login page). | ||||||
technical_contact_email | Email address of identity provider support contact (Note: Oxide rack does not generate email notifications at this time). | ||||||
signing_keypair | (Optional) Used by the client for signing the login request, in the form of base64-encoded DER files.
| ||||||
group_attribute_name | The custom attribute in the SAML access token response that represents the user’s group memberships. The information will be used to create user groups and assign the user to them (required for JIT user provisioning). |
Create identity provider using the Oxide console
To set up an identity provider for the new silo, click New Provider on the Identity Providers tab.
Create identity provider using the CLI
Execute one of the following commands depending on how you want to specify the IdP metadata. Replace any placeholder values with your desired values.
oxide silo idp saml create --silo $SILO_NAME --json-body idp.json --metadata-value $BASE64_ENCODED_METADATA_XMLor:
oxide silo idp saml create --silo $SILO_NAME --json-body idp.json --metadata-url $IDP_METADATA_URLHere is a sample request payload of the idp.json file for a silo named "corp" on the delegated domain "oxide.acme.com" with a Google SAML provider.
{
  "name": "google",
  "description": "Corporate silo google SAML provider",
  "idp_entity_id": "https://accounts.google.com/o/saml2?idpid=D12wdrk34",
  "sp_client_id": "corp",
  "idp_metadata_source": {
     "type": "base64_encoded_xml",
     "data": ""
  },
  "acs_url": "https://corp.sys.oxide.acme.com/login/corp/saml/google",
  "slo_url": "https://corp.sys.oxide.acme.com/login/corp/saml/google",
  "technical_contact_email": "infra@acme.com",
  "signing_keypair": {
     "public_cert": "$base64EncodedDer",
     "private_key": "$base64EncodedDer"
  },
  "group_attribute_name": "admins"
}
Create local users using the CLI
This step is required only for silos that use local_only for authentication.
To create the first user in the silo and grant this user administrator access, you’ll need to execute the following Oxide CLI commands. Replace $SILO_NAME, $loginName, and $passwordValue with your desired values.
# create user
oxide silo idp local user create --silo $siloName --json-body user.json

# grant silo admin role
oxide silo policy update --silo $siloName --json-body policy.json

# grant fleet admin role
oxide system policy update --json-body new-policy.json
The JSON files can be constructed as follows:
{
  "external_id": "$siloUserUuid",
  "password": {
    "mode": "password",
    "value": "$passwordValue"
  }
}{
"role_assignments": [{
"identity_id": "$siloUserUuid",
"identity_type": "silo_user",
"role_name": "admin"
}]
}In order to add our new fleet role without losing existing role assignments, a new system policy must include all existing role assignments from the current system policy plus any new ones. For example, a new-policy.json file could look like this:
{
  "role_assignments": [
    {
      "identity_id": "$siloUserUuid",
      "identity_type": "silo_user",
      "role_name": "admin"
    },
    {
      "identity_id": "$fleetUserUuid",
      "identity_type": "fleet_user",
      "role_name": "admin"
    }
  ]
}
Which includes the previous policy in its schema, along with a new block for a fleet admin user. You could generate this programmatically by running the following commands:
# Get the current system policy object
oxide system policy view --json > current-policy.json

# Create the new role assignment to add (as a policy-like object)
echo '{
  "role_assignments": [{
    "identity_id": "$fleetUserUuid",
    "identity_type": "fleet_user",
    "role_name": "admin"
  }]
}' > new-role-to-add.json

# Combine the existing roles with the new role
jq -s '{role_assignments: (.[0].role_assignments + .[1].role_assignments)}' current-policy.json new-role-to-add.json > new-policy.json
Before using the oxide system policy update command to apply the new policy.
# Apply the updated policy
oxide system policy update --json-body new-policy.jsonrecovery silo to delete the silo and recreate it with the correct configuration.Test user login
On a separate browser tab or window, log into the newly created silo at https:/, either as yourself via the identity provider or as the local administrator using password authentication.
In the case of IdP integration, if the admin group attributes are configured correctly, your account should be imported into the rack with the silo "admin" role automatically granted. You can confirm your group assignments in the Profile page under Settings.
admin_group_name of the silo.If login fails:
| Issue | Solution |
|---|---|
Cannot reach the silo URL (timeout) | Verify DNS resolution works ( |
TLS certificate error | Verify that that the cert SAN covers |
"Invalid credentials" (local auth) | Reset password via recovery silo; verify user was created successfully |
SAML login redirects but fails with "unauthorized" | Check that your IdP account is in the admin group; verify |
SAML login fails with "invalid ACS URL" | Verify ACS URL format: |
Login succeeds but user has no groups/roles | Check IdP SAML response includes group attribute; verify |
When to contact Oxide Support:
Login fails with errors not listed above
SAML configuration appears correct but authentication consistently fails
User successfully authenticates but cannot access any resources despite correct group membership
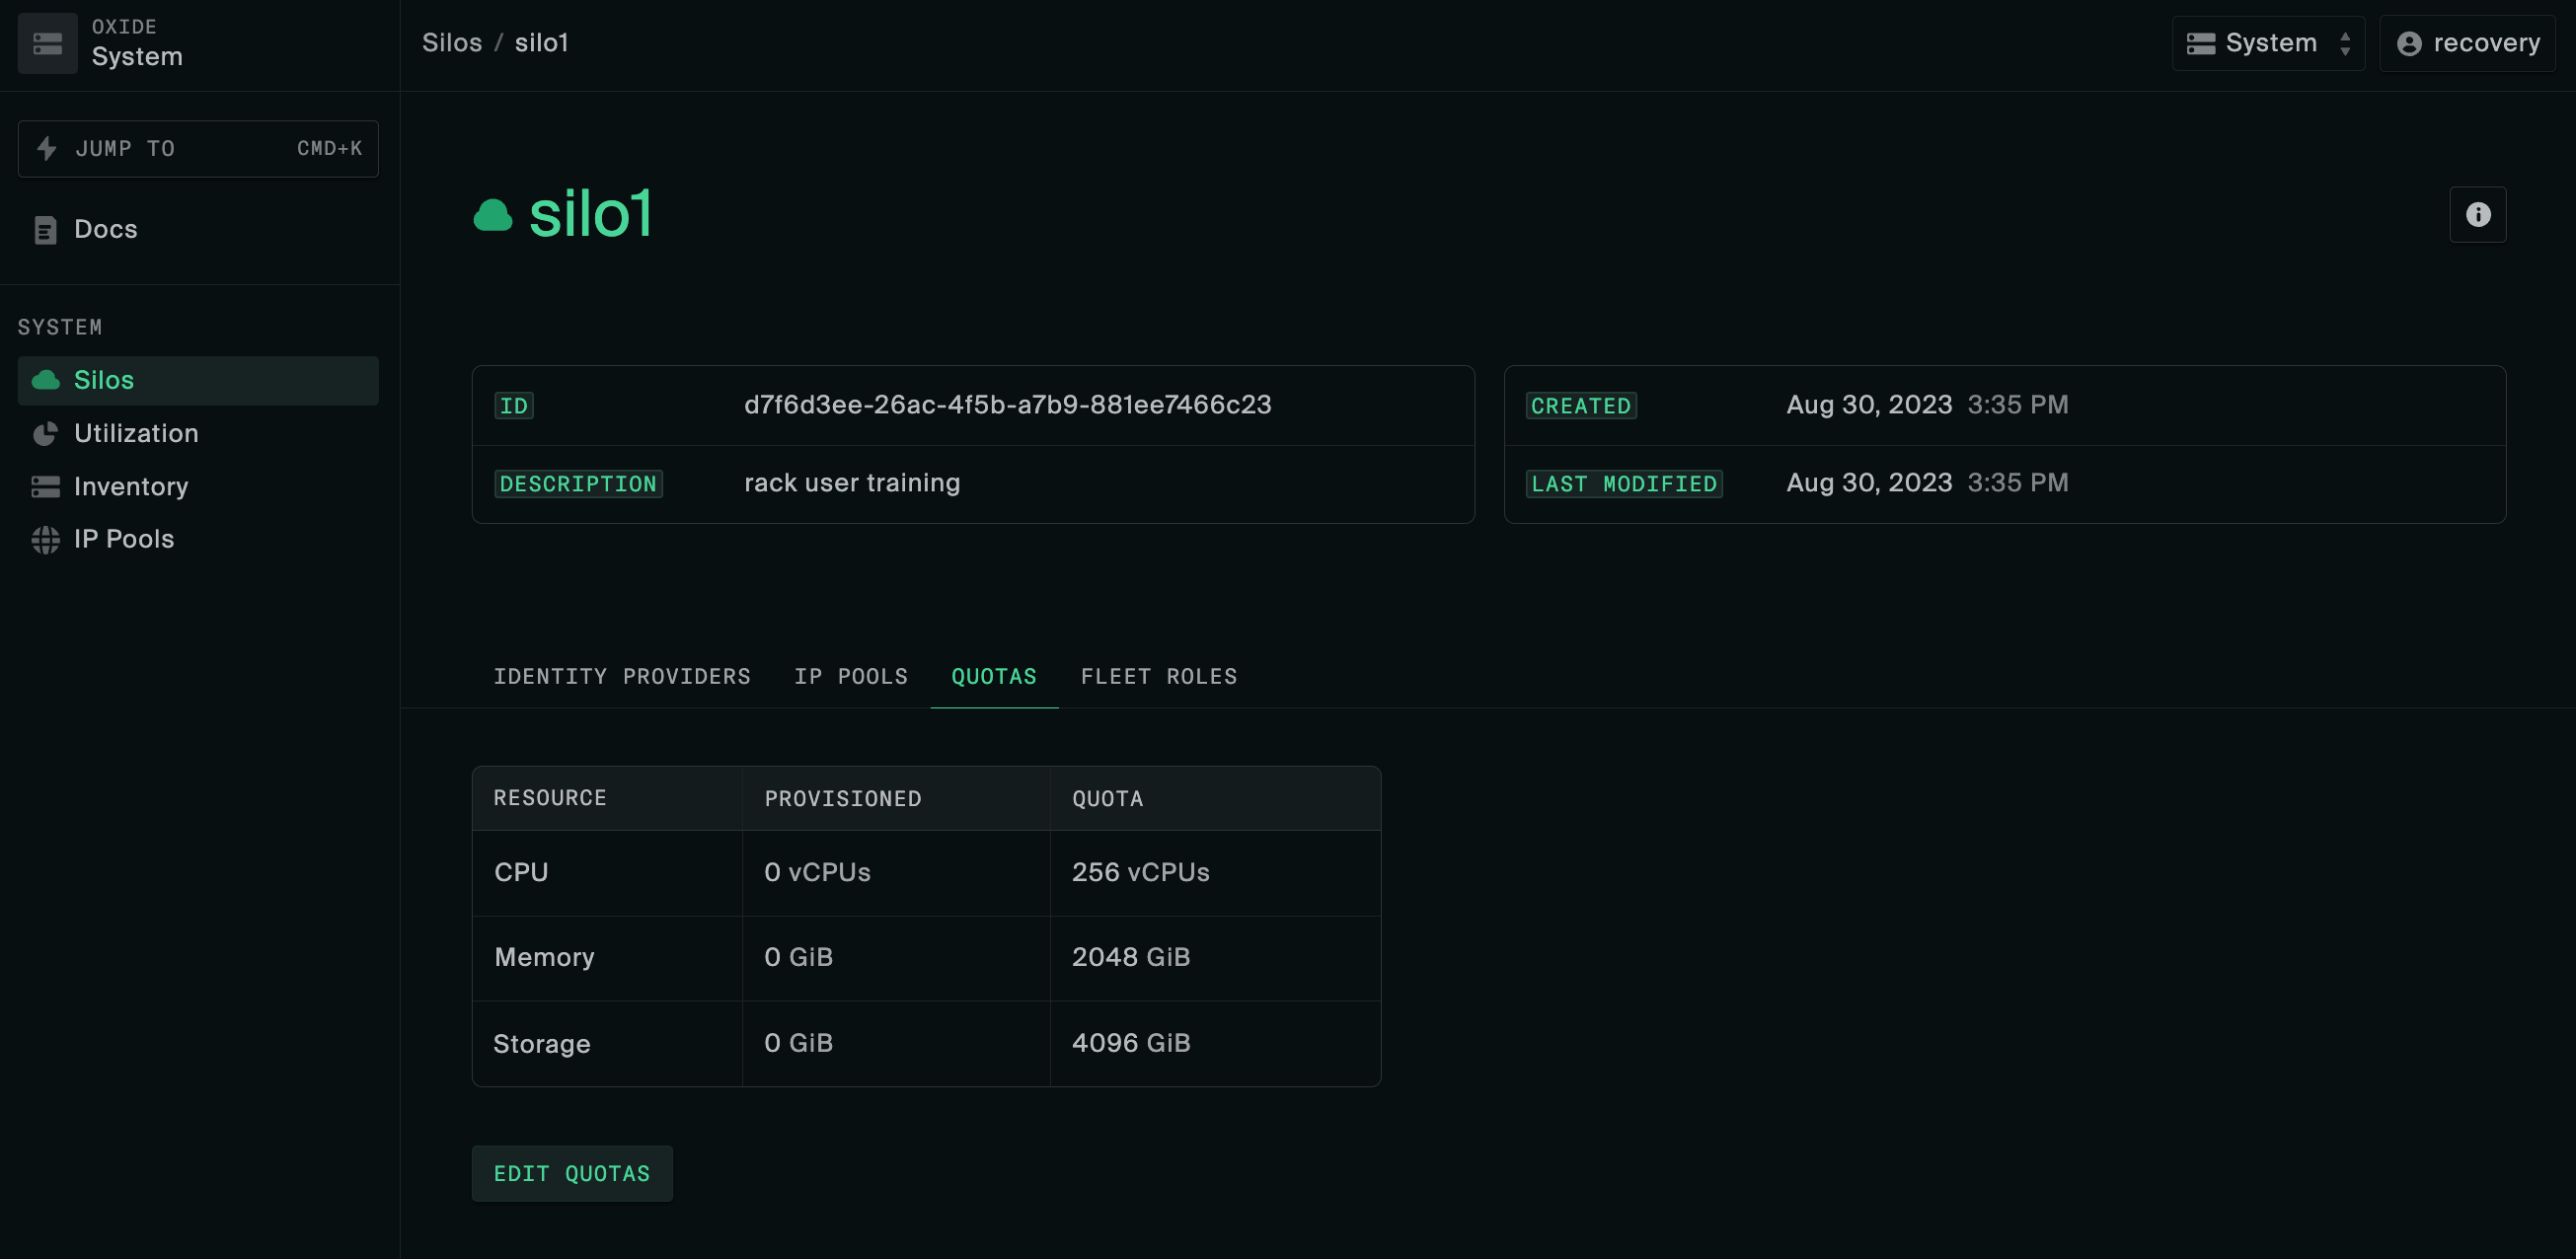
Configure resource quotas
Virtual compute and storage resources such as vCPUs are shared among users of different silos. For this first silo setup, you can configure the limits to what is required for initial usage and modify them later as needed.
Set silo resource quotas using the Oxide console
To set a resource quota for the new silo, click Edit Quotas on the Quotas tab.
Set silo resource quotas using the CLI
Execute the following command to set a quota for the new silo:
oxide silo quotas update \
--silo $SILO_NAME \
--cpus $VCPU_COUNT \
--memory $MEMORY_BYTES \
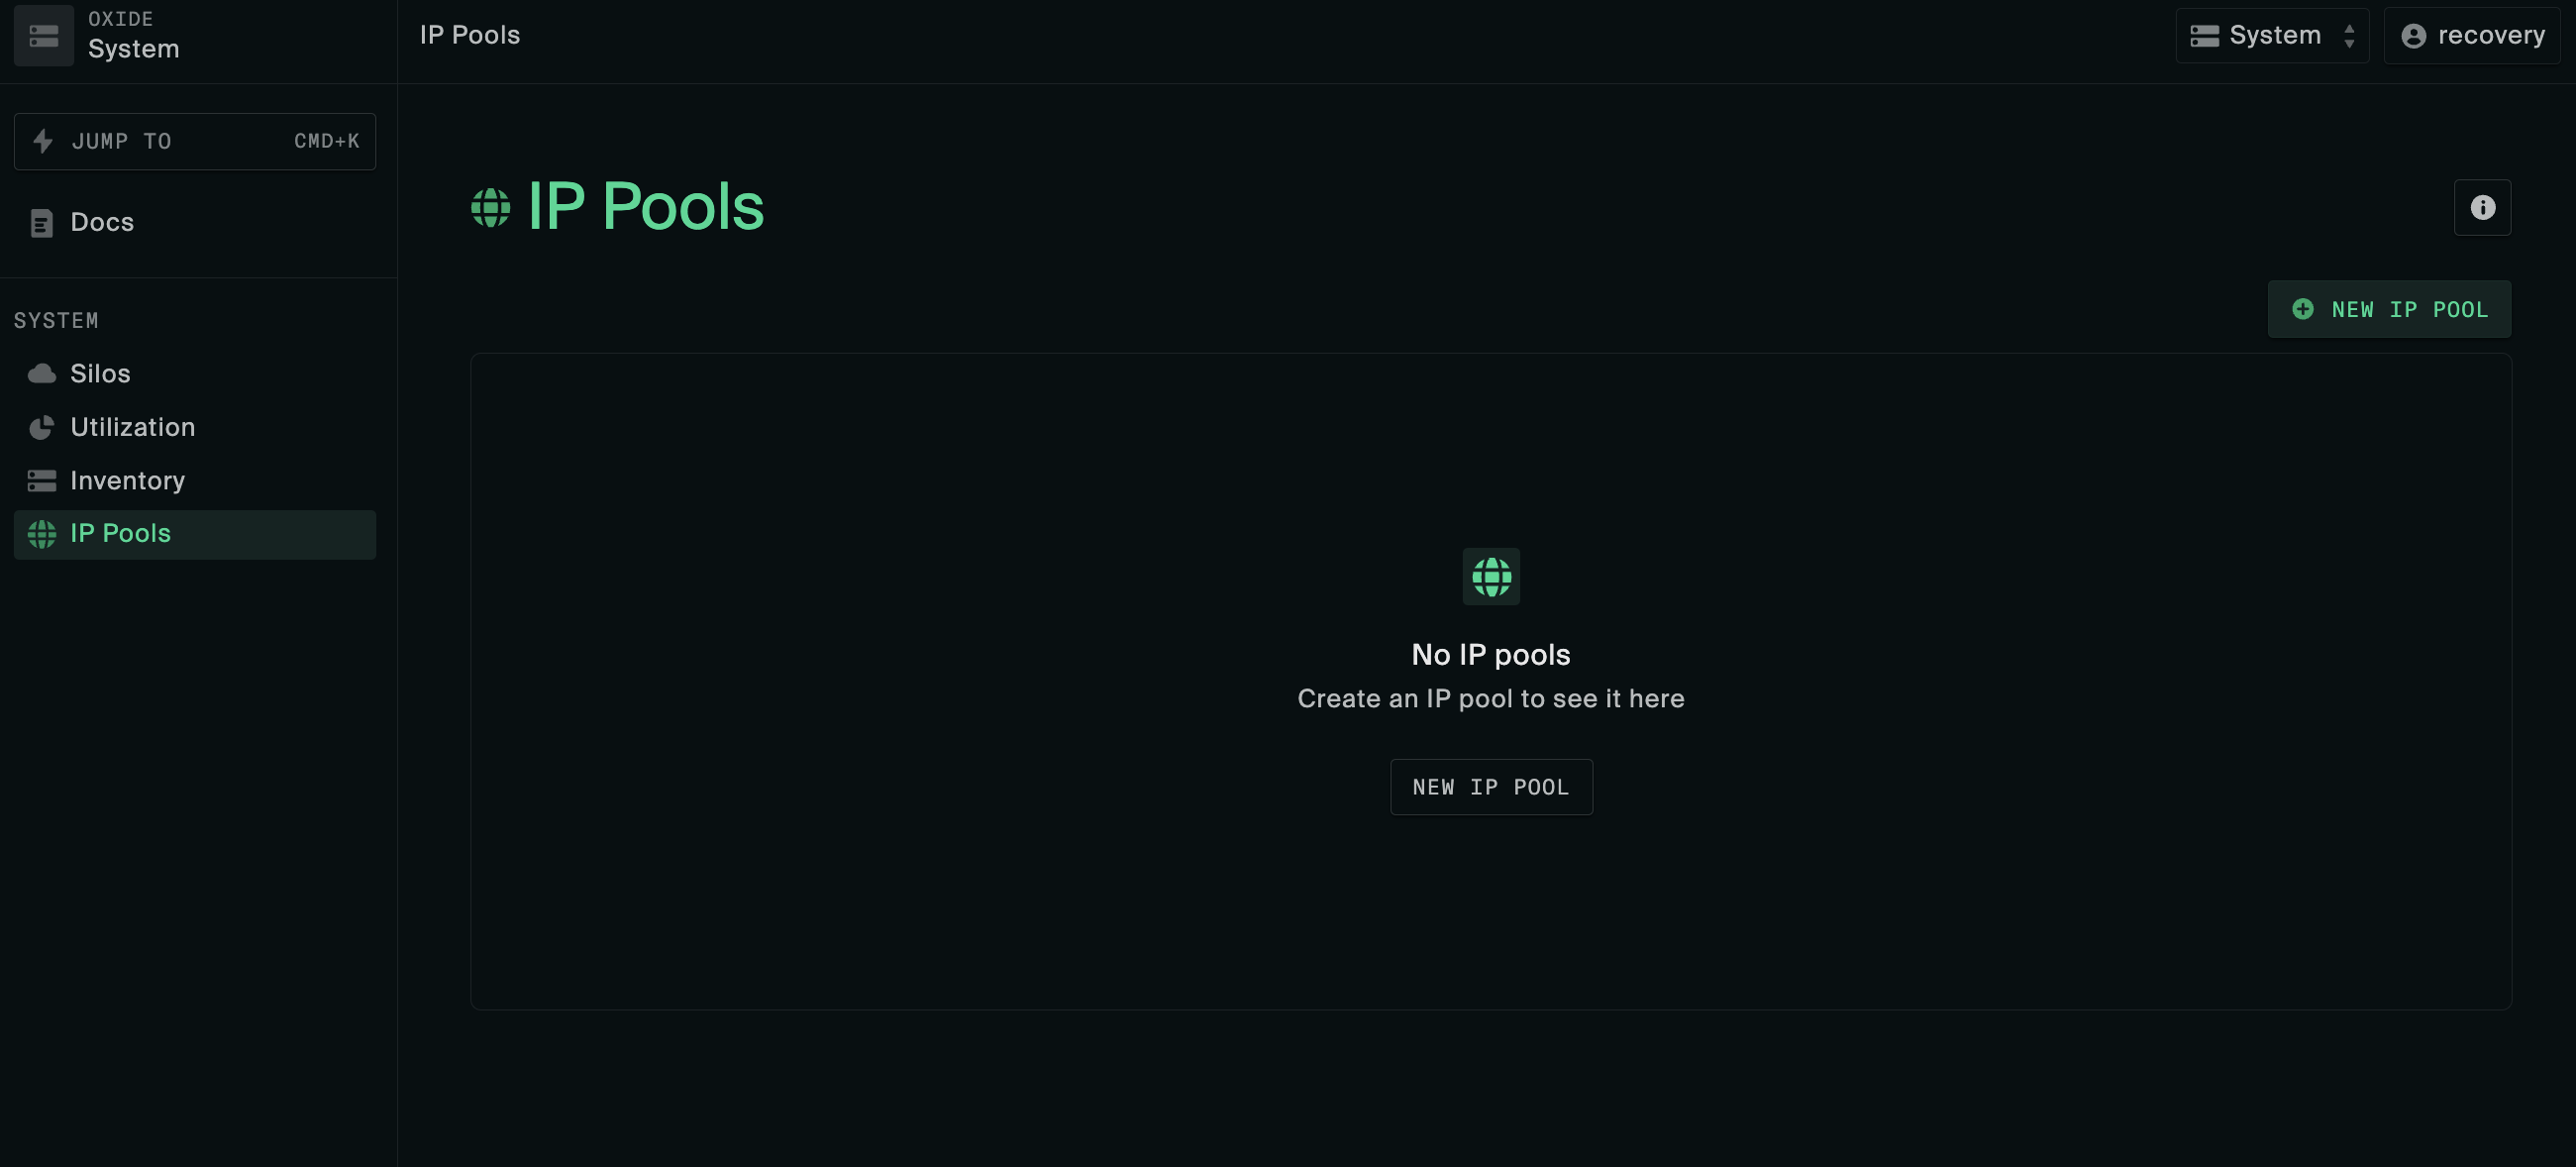
--storage $STORAGE_BYTESConfigure IP pools
IP pools are groups of addresses used for managing instance external IP address allocation. Each silo may have one or more IP pools associated with it, with one designated as the default pool. When an ephemeral or floating IP is provisioned, an address will be automatically assigned from the IP pool specified in the request, or the default pool if it is unspecified.
Create and configure IP pool using the Oxide console
Follow these steps to create your first IP pool and link it to the new silo:
Locate the IP Pools menu under System, click New IP Pool.
Add one or more IP ranges to this new IP pool. The IP ranges can be discrete start/end IP addresses and do not need to be CIDR blocks.
Navigate back to Silos and click on the name of the silo created earlier.
On the IP Pools tab, click Link Pool and add the IP pool created above.
Click the three dots in the right-most column of the IP pool table and select Make default.
Create and configure IP pool using the CLI
Execute the following commands to create, then populate the first IP pool before linking it to the new silo:
# create the IP pool
oxide system networking ip-pool create --name $POOL_NAME --description $POOL_DESCRIPTION

# insert an address range into the new IP pool
oxide system networking ip-pool range add --pool $POOL_NAME --first $FIRST_IP_IN_RANGE --last $LAST_IP_IN_RANGE

# link the pool to your new silo and make it the default
oxide system networking ip-pool silo link --pool $POOL_NAME --silo $SILO_NAME --is-default trueAdditional context and considerations about IP pools can be found in the Network Preparations and IP Pools guides.
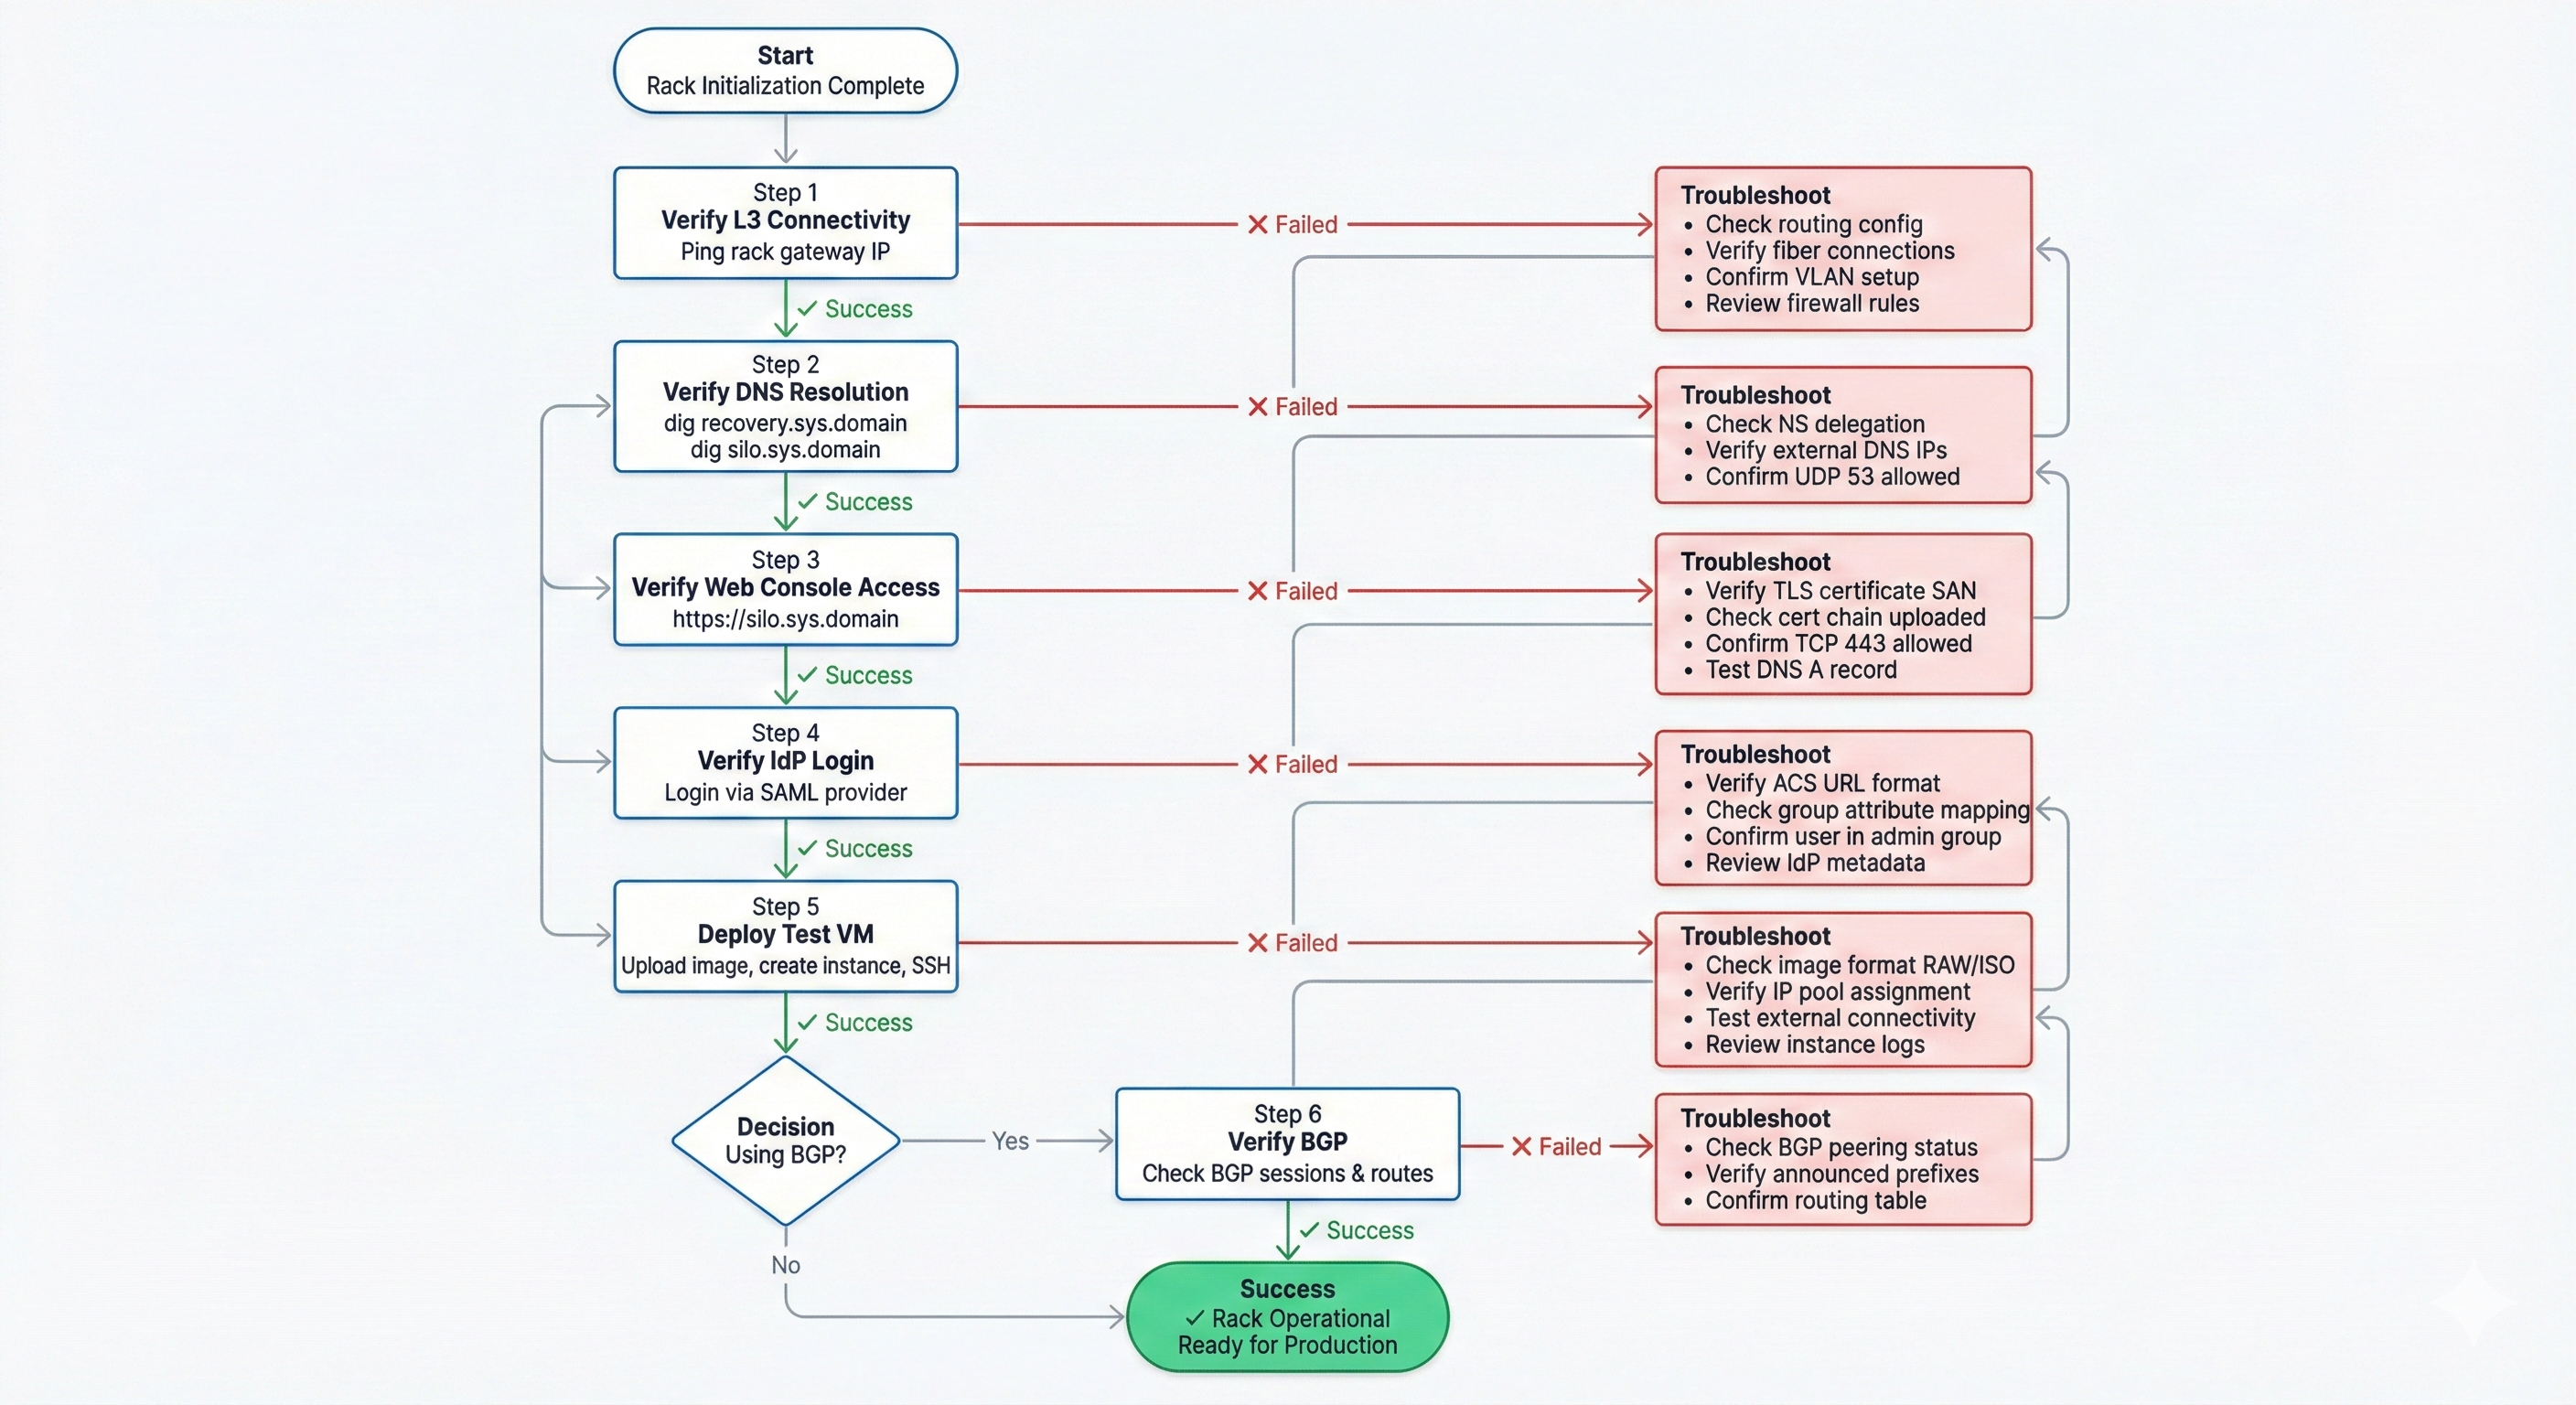
Post-configuration validation
After completing silo and IP pool setup, walk through the following checks to confirm the rack is fully operational.
1. Verify layer 3 connectivity
Before testing higher-level services, confirm basic network connectivity to the rack.
From a workstation on the broader network:
# Verify you can reach the rack's uplink gateway
ping $RACK_GATEWAY_IP

# Check if uplink ports are passing traffic (from a switch connected to the rack)
# Look for non-zero TX/RX counters on the uplink ports
If ping fails:
Verify upstream routing is configured to direct traffic to the rack’s gateway IP
Check that uplink fiber connections are active (LEDs lit on transceivers)
Confirm upstream switch ports have the correct VLAN and routing configuration
Review firewall rules between your workstation’s network and the rack uplinks
If you can ping the gateway but can’t reach rack services:
Check that BGP peering is established (if using BGP):
bgp summaryon upstream routersVerify static routes are configured correctly (if using static routing)
Confirm the rack’s external IP pools are routable from the broader network
2. Verify DNS resolution
From a workstation on the broader network:
# Verify the recovery silo resolves
dig recovery.sys.$OXIDE_DOMAIN_NAME

# Verify your new silo resolves
dig $SILO_NAME.sys.$OXIDE_DOMAIN_NAME
Both should return A records pointing to addresses in your services IP pool. If resolution fails, check:
NS delegation records in your upstream DNS
Firewall rules allowing UDP port 53 to/from the rack’s external DNS IPs

3. Verify web console access
Open a browser and navigate to https:/. You should see the Oxide Console login page. If the page times out:
Verify the TLS certificate is valid for this hostname.
Confirm firewall allows HTTPS (TCP 443) from your workstation to the services IP pool.
Check that the DNS A record points to a reachable Oxide API address.
If you see a TLS certificate error, verify the certificate SAN covers *.sys.$OXIDE_DOMAIN_NAME and the full chain is uploaded.
4. Verify IdP login
Log in via your identity provider. After successful authentication:
Confirm you land on the Oxide Console projects page
Navigate to Settings > Profile and verify your group memberships include the admin group
If login fails, check the ACS URL format, group attribute mapping, and that your account is in the admin group in the IdP
5. Deploy a test VM
This validates end-to-end compute, storage, networking, and external connectivity.
Prepare: You will need a Linux VM image (RAW or ISO format) and an SSH key pair.
Upload an image: Navigate to a project, go to Images, and upload your Linux image.
If you have a qcow2 image, convert it first:
qemu-img convert -f qcow2 -O raw input.qcow2 output.rawAdd an SSH key: Go to Settings > SSH Keys and add your public key.
Create an instance: Go to Instances > New Instance.
Select your uploaded image as the boot disk.
Choose a small size (e.g., 2 vCPUs, 4 GiB RAM).
Confirm the default VPC and subnet are selected.
Ensure your SSH key is checked.
Click Create Instance.
Verify connectivity:
# Find the instance's external IP in the Console (Instances > your instance > Networking)
ssh $SOME_USER@INSTANCE_EXTERNAL_IP
Once logged in, verify:
Outbound connectivity:
curl -I https:// example.com DNS resolution:
dig oxide.computerPackage installation:
apt update(or equivalent)
Clean up: Stop and delete the test instance when satisfied.
5. Verify BGP (if applicable)
If using BGP, verify from your upstream router:
BGP sessions are established with both Oxide switches.
The rack is announcing the expected prefixes.
Routes to the rack’s service and instance IP pools are present in the routing table.

What’s next
Congratulations! Your Oxide rack is now fully operational.
Operator next steps:
Document your specific configuration (IP ranges, DNS delegation, IdP settings) for future reference.
Save the recovery silo credentials in a credentials vault for emergency access.
Share silo access with your team members by adding them to the admin group in your IdP platform.
Review the Operator Guides for ongoing rack management (see Silo Management, Hardware Maintenance, and IP Pool Management)
Set up additional silos for different teams or environments.
Configure additional IP pools as needed.
Review monitoring and alerting setup.
For issues or questions, contact Oxide Support.
For developers and users:
Share the User Guides with application teams.
Point them to the API documentation for automation.
Install the Oxide CLI for command-line workflows.